
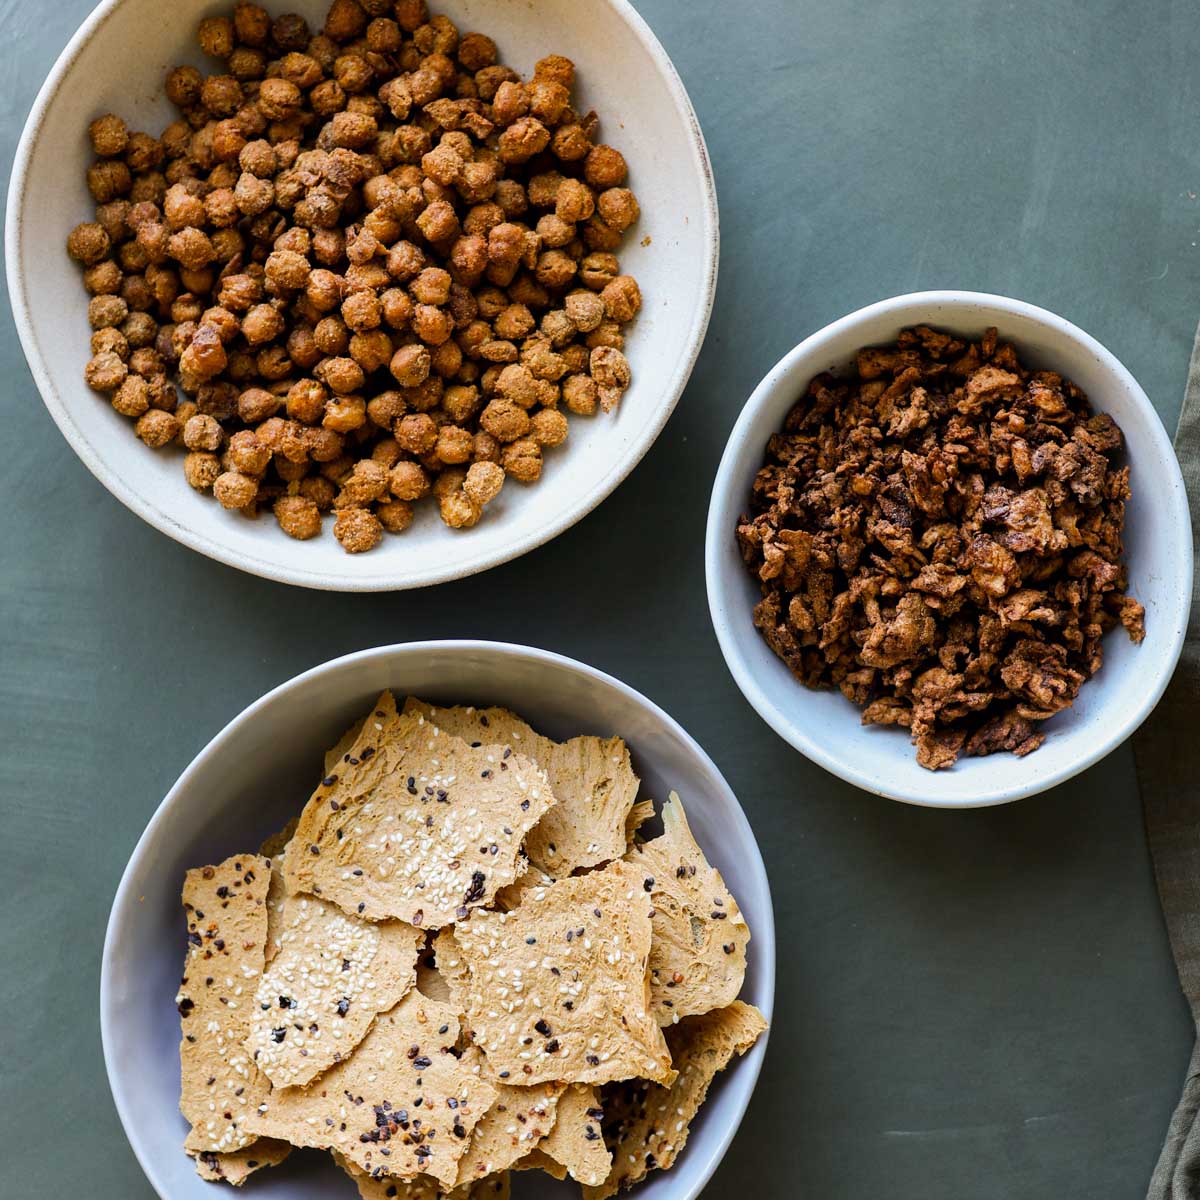
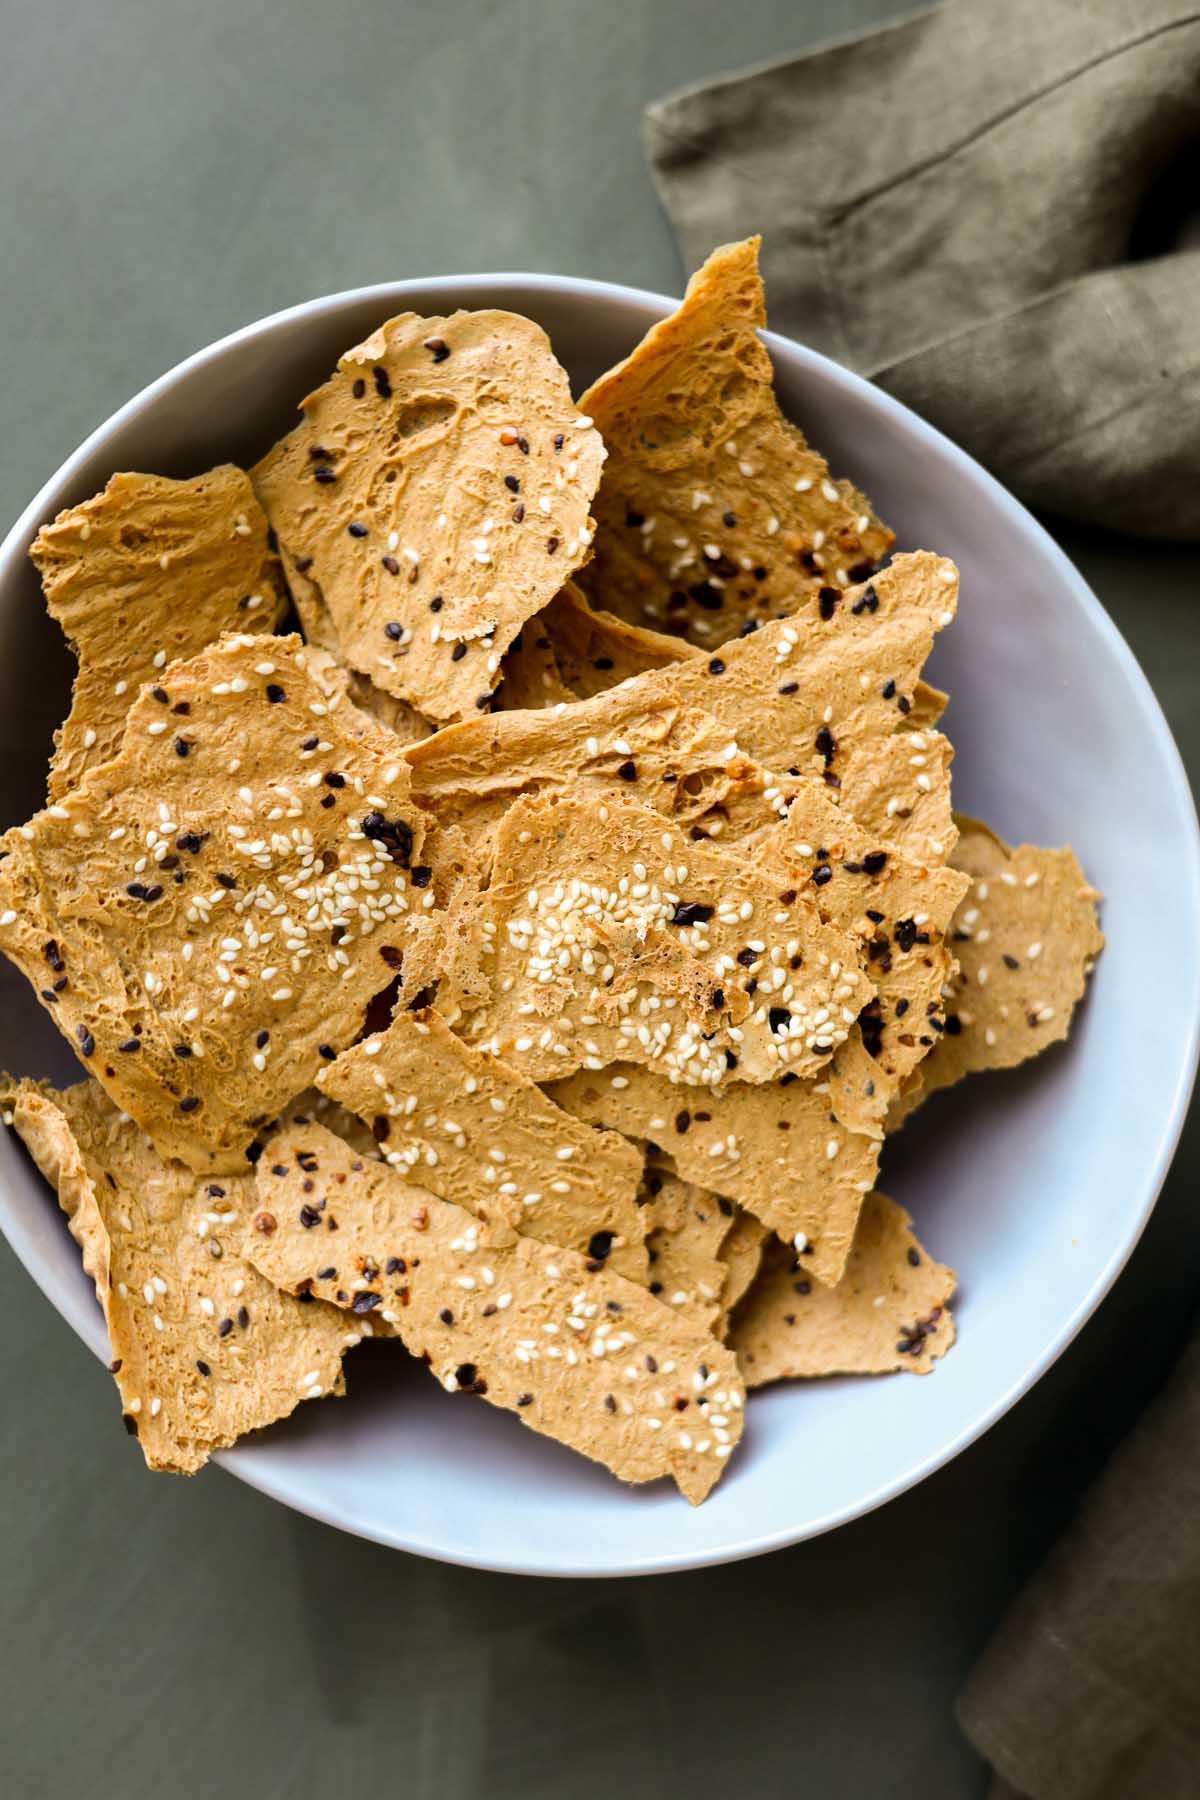
These high protein travel snacks are great for munching on between meals or on the road. Choose from soy curls crisps; light, crispy chickpeas; and crackly versatile Tofu chips. Or make them all! (gluten-free and nut-free with soy-free option)
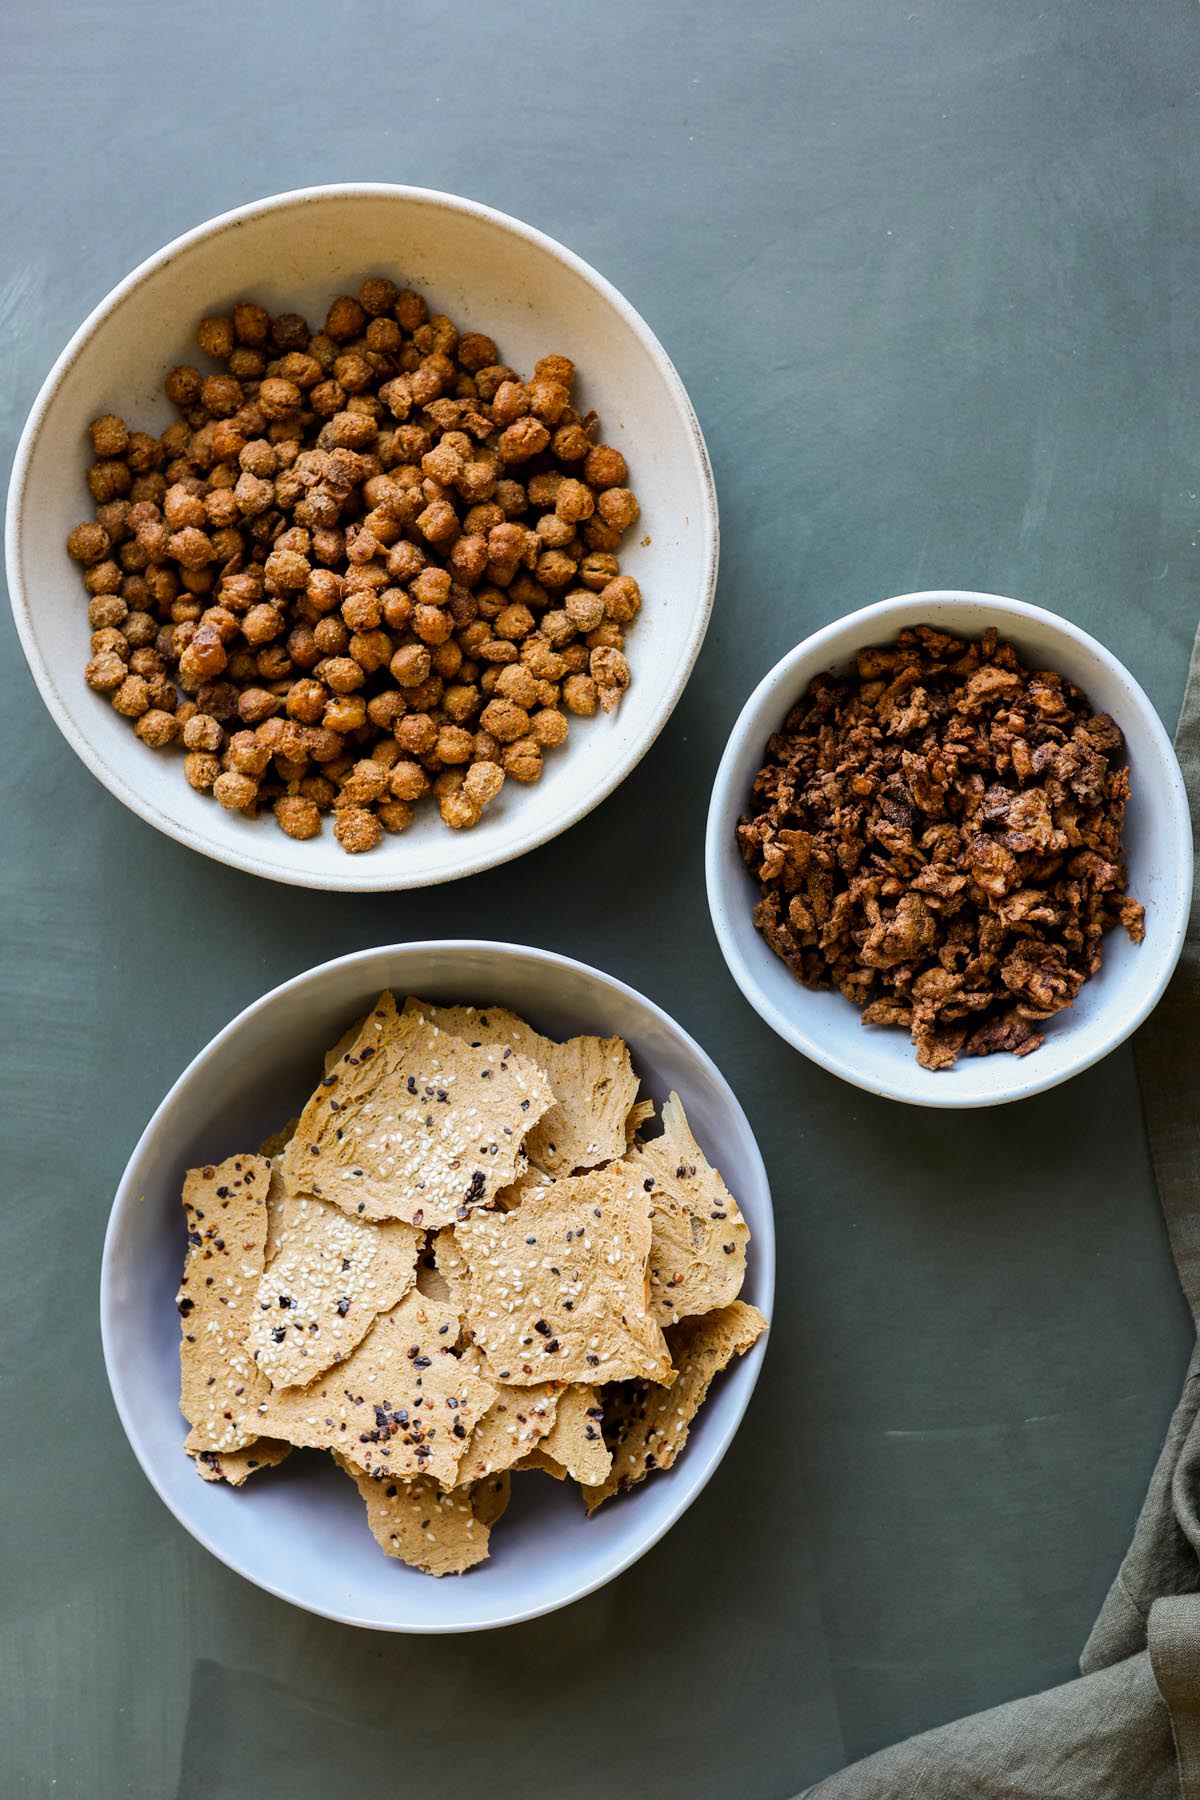
These high protein travel snacks are great on a road trip or even 30,000 feet in the air on a flight, when you’re craving something spicy, salty, savory, and crunchy.
Unlike a lot of packaged snacks, these aren’t just empty calories. They’re packed with protein and taste fantastic with a great shelf life, so you can make a bunch of them to keep around. They are all easy to make and so flavorful with a great crunch!
All of these homemade travel snacks keep for up to two weeks in an airtight container, so make plenty to have around the house or for your next trip!
Why You’ll Love these High Protein Travel Snacks
- crispy, crunchy, flavorful, and protein-packed
- easy to make! Each of these bakes up on a single sheet pan.
- versatile! Mix and match seasonings to make these your own.
- naturally gluten-free and nut-free. The crispy chickpeas are also soy-free.
Crispy Chili Soy Curls
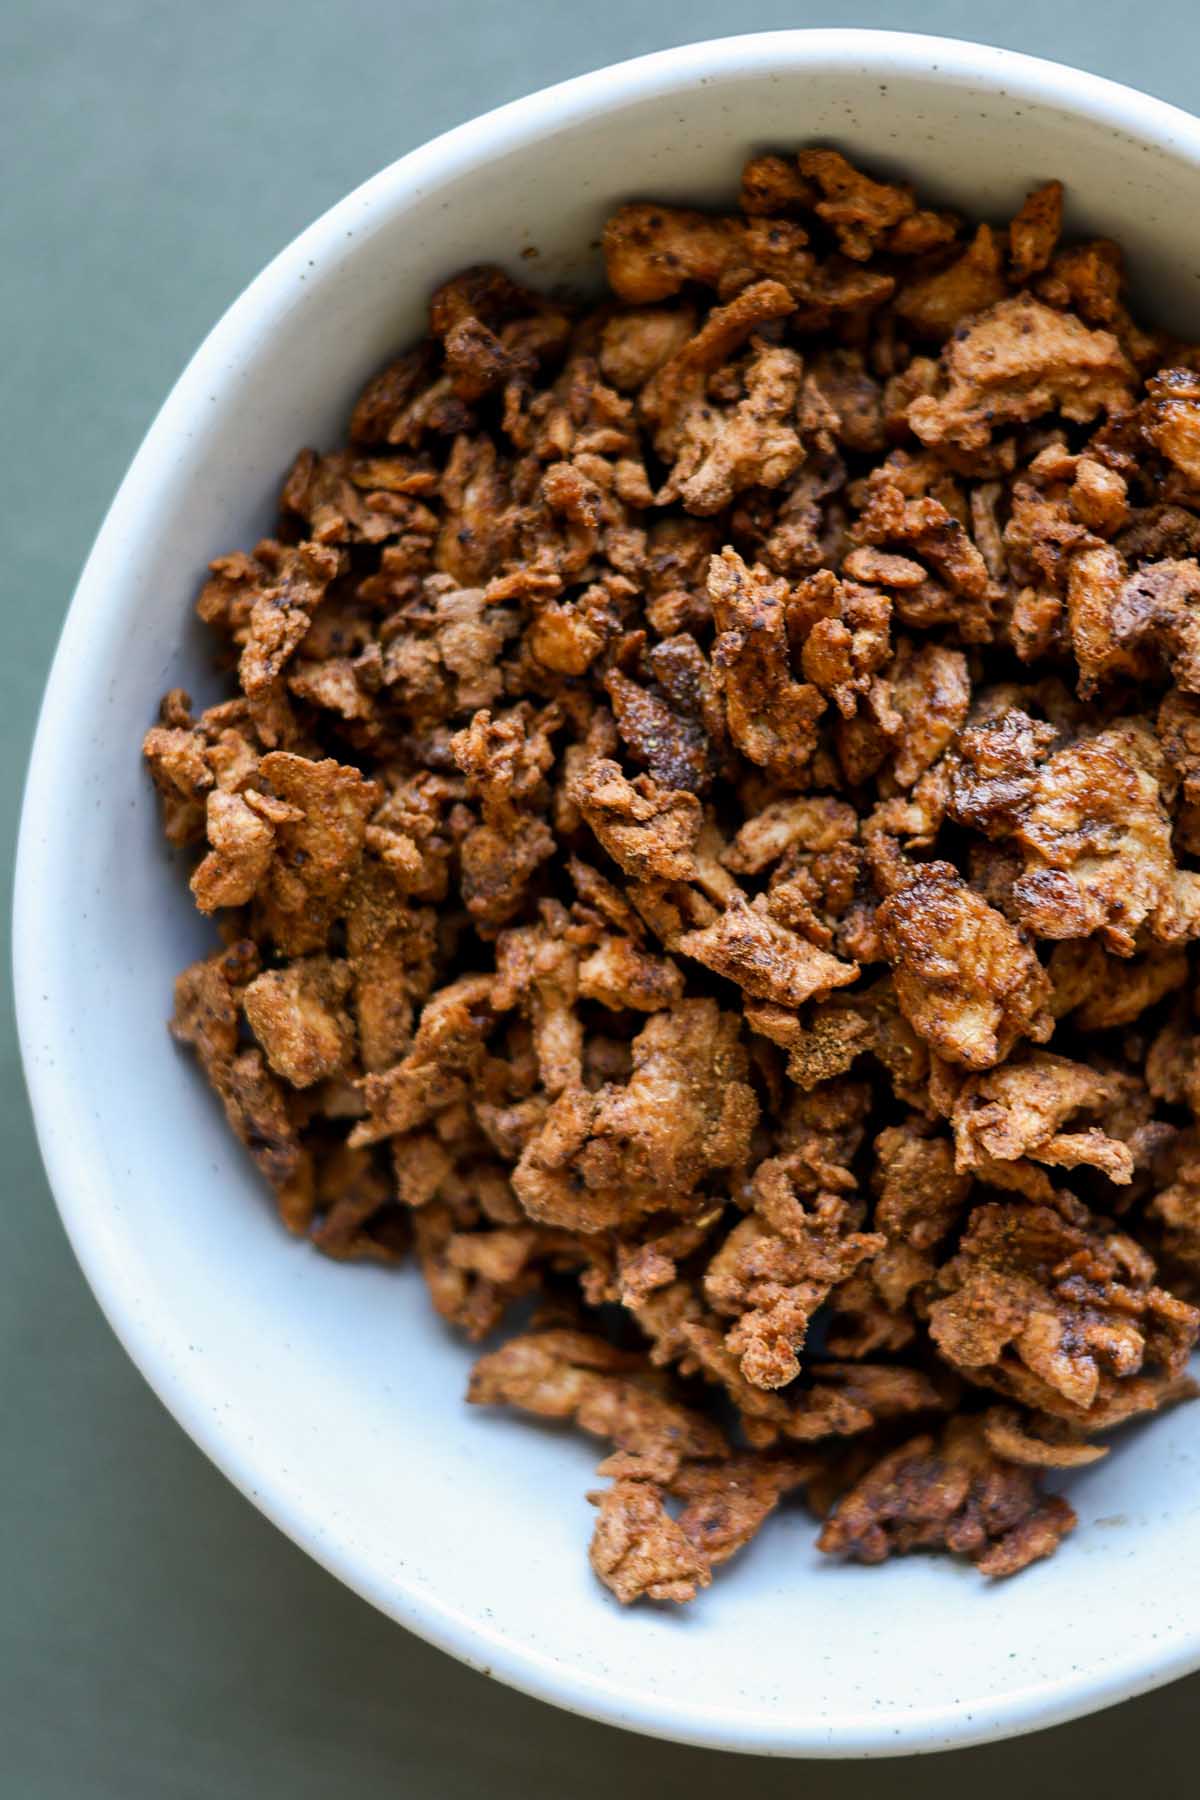
The first snack is crispy chili soy curls. We toss soaked soy curls in cornstarch and spices, then bake them up until they’re crispy and crunchy! Like all of the vegan travel snacks I’m sharing here, you can customize the flavor to make it your own. For these, you can use chili powder, Cajun spice mix, curry powder, or garam masala to create your ideal flavor profile.
To get these extra crispy, you want to chop them up into smaller pieces. If the pieces are too long, they’ll end up chewy rather than crispy.
Prevent your screen from going dark
-
Preheat the oven to 375°F (190° C) and line a baking sheet with parchment paper.
-
Warm the water or stock in the microwave or in a saucepan until warm hot, then pour it into a bowl. Add the soy curls, pressing them down into the liquid, and let them soak for about 15 minutes until fully softened.
-
Drain the soy curls in a strainer and let them sit for about 5 minutes. Press them gently with a spoon or spatula to remove excess moisture. They don’t need to be super dry, but you want to remove excess moisture, so the spices can stick properly. If the soy curls are large and you want them extra crispy, chop them into ½” pieces. Transfer to a bowl.
-
In a small bowl, mix the cornstarch, baking powder, salt, and all of the spices until well combined. Sprinkle the spice mixture over the soy curls. Toss well so everything is evenly coated, then let the mixture sit for about 5 minutes. Drizzle the oil over the soy curls and toss well to coat. If the mixture feels too sticky, add a little more cornstarch and toss to coat.
-
Spread the soy curl mixture evenly on the parchment-lined baking sheet and bake for 15 minutes. Stir them well, then reduce the oven temperature to 300°F (149° C), and if you have a convection setting, turn it on. Continue baking for 20 to 35 minutes, stirring occasionally, until the soy curls are nicely crispy. Depending on your soy curls and oven, the total baking time will vary. If most of the soy curls are crispy but a few are still slightly chewy, turn off the oven and leave them inside for another 10 to 15 minutes.
-
Remove from the oven, and let them cool completely. At this point, you can toss them with additional chili powder, if desired. Store in an airtight container for up to two weeks and use as a snack or as a topping for pasta, salads, or burritos.
Depending on your soy curls and oven, the total baking time will vary.
Calories: 115kcal, Carbohydrates: 10g, Protein: 10g, Fat: 4g, Saturated Fat: 0.3g, Polyunsaturated Fat: 1g, Monounsaturated Fat: 2g, Sodium: 300mg, Potassium: 111mg, Fiber: 3g, Sugar: 3g, Vitamin A: 104IU, Vitamin C: 0.2mg, Calcium: 114mg, Iron: 2mg
Nutrition information is automatically calculated, so should only be used as an approximation.
Soy Curl Crisps Ingredients
- soy curls – Soak your soy curls in hot water or stock.
- cornstarch and baking powder – Helps the coating stick and get lightly crisp.
- salt and spices – Salt, cayenne and/or paprika, garlic powder, and your spice blend of choice add so much flavor! For the spice blend, choose from options like Mexican chili powder, Cajun spice mix, curry powder, or garam masala
💡Tips for the Best Soy Curl Crisps
- Drain the soy curls well, so they bake up crispy. You still want them moist, but you don’t want water to be dripping out.
- Depending on your soy curls and oven, the total baking time will vary.
How to Make Soy Curl Crisps
Preheat the oven to 375°F (190° C) and line a baking sheet with parchment paper.
Warm the water or stock in the microwave or in a saucepan, then pour it into a bowl. Add the soy curls, pressing them down into the liquid, and let them soak for about 15 minutes until fully softened.
Drain the soy curls in a strainer and let them sit for about 5 minutes. Press them gently with a spoon or spatula to remove excess moisture. They don’t need to be super dry, but you want to remove excess moisture, so the spices can stick properly. If the soy curls are large and you want them extra crispy, chop them into ½” pieces. Transfer to a bowl.
In a small bowl, mix the cornstarch, baking powder, salt, and all of the spices until well combined. Sprinkle the spice mixture over the soy curls. Toss well so everything is evenly coated, then let the mixture sit for about 5 minutes. Drizzle the oil over the soy curls and toss well to coat. If the mixture feels too sticky, add a little more cornstarch and toss to coat.
Spread the soy curl mixture evenly on the parchment-lined baking sheet and bake for 15 minutes. Stir them well, then reduce the oven temperature to 300°F (149° C), and if you have a convection setting, turn it on. Continue baking for 20 to 35 minutes, stirring occasionally, until the soy curls are nicely crispy. Depending on your soy curls and oven, the total baking time will vary. If most of the soy curls are crispy but a few are still slightly chewy, turn off the oven and leave them inside for another 10 to 15 minutes.
Remove from the oven, and let them cool completely. At this point, you can toss them with additional chili powder, if desired. Store in an airtight container for up to two weeks and use as a snack or as a topping for pasta, salads, or burritos.
Airy, Crispy Chickpeas (not rock-hard!)
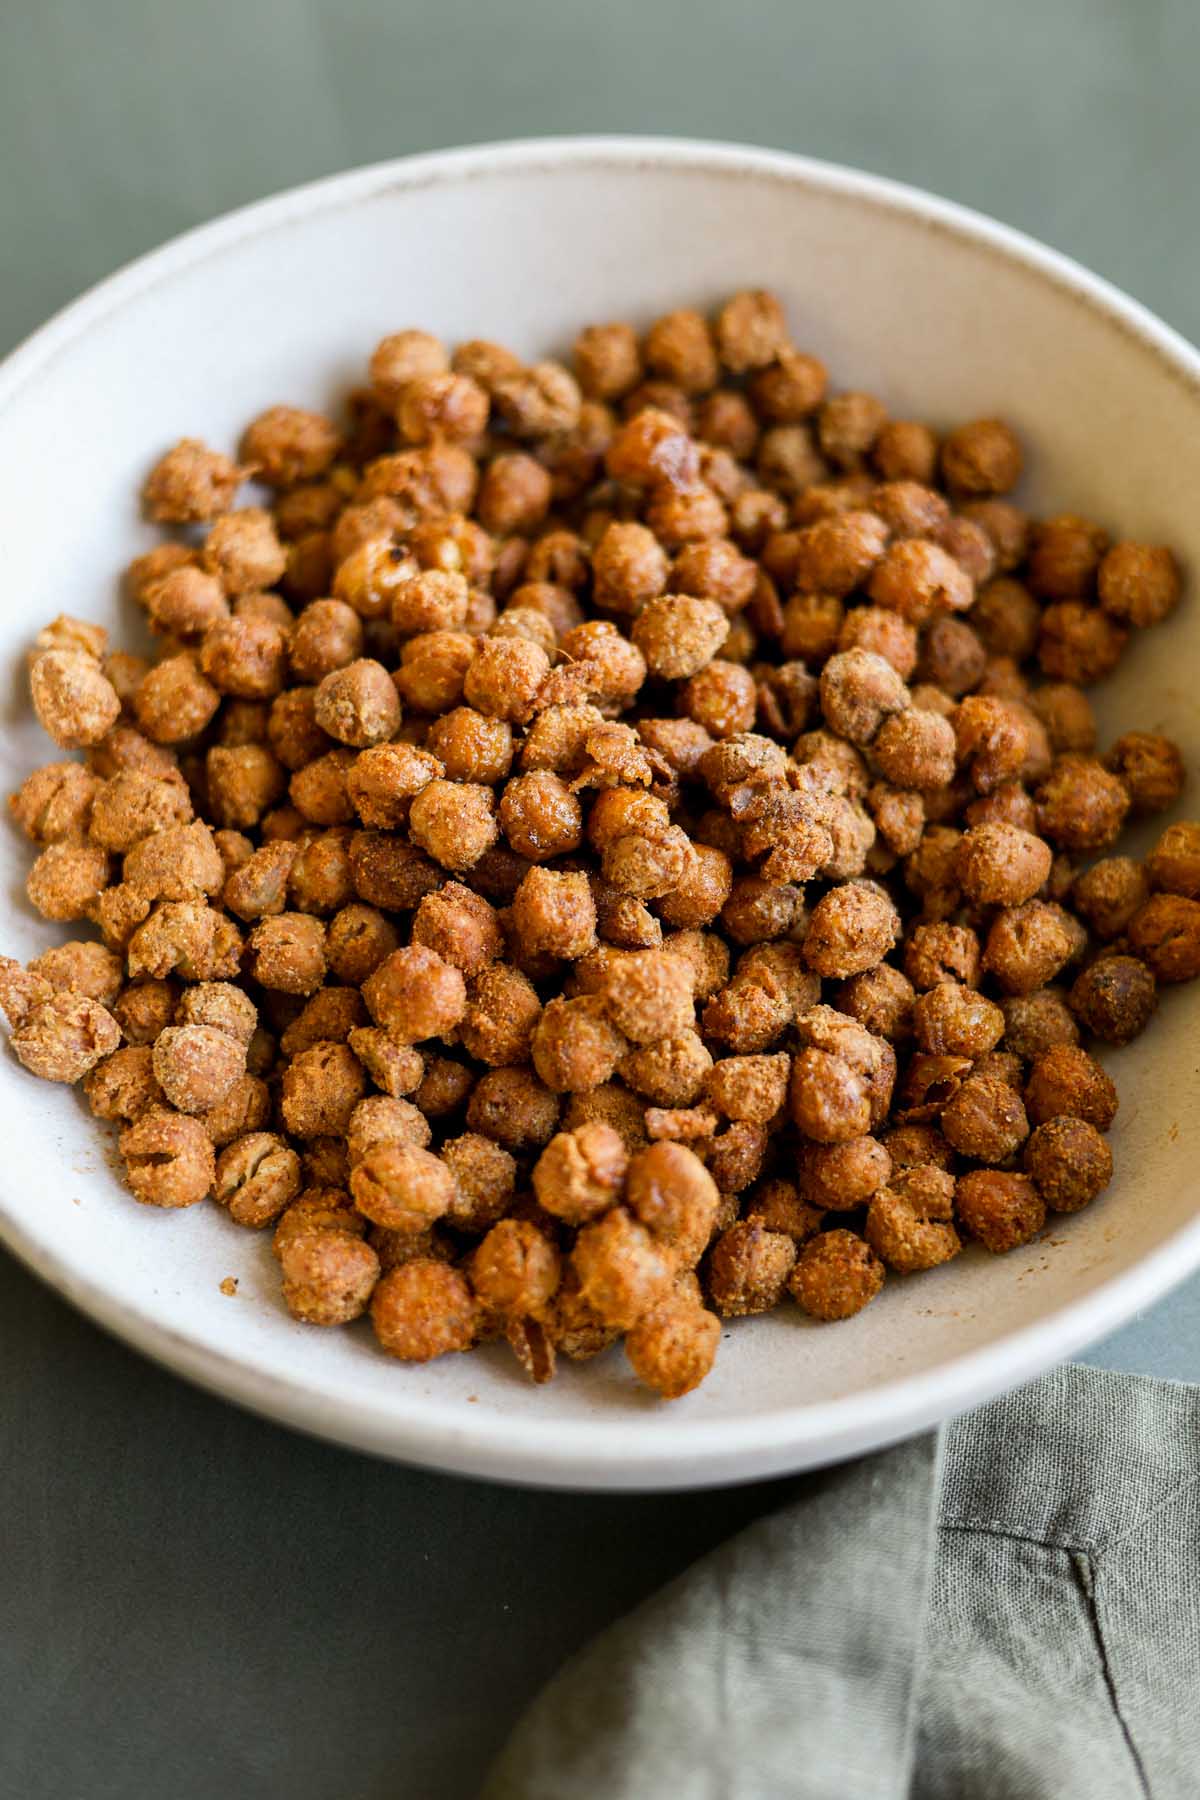
The next high protein travel snacks are these fluffy, crispy chickpeas. I know what you’re thinking: roasted chickpeas have been done to death, and they’re usually hard as a rock. But if they’re made well, they don’t have to have that texture. The texture of these chickpeas is fluffy, light, and airy.
They also have a customizable flavor profile! Choose from chana masala, chole masala, curry powder, or Garam Masala. These are also soy-free!
There are two secrets to amazing, cracker-like roasted chickpeas. First, cook the chickpeas from scratch, rather than using canned. You really can’t get this texture from canned chickpeas, because they’re too toothsome to begin with. Instead, you want to cook them at home in the Instant Pot or on the stovetop and slightly overcook them, so they’re really soft.
The second secret is to add some baking powder to the cornstarch mixture that coats the chickpeas. That helps add that cracker-like texture.
Prevent your screen from going dark
Cook the chickpeas.
-
Soak 1 cup of dried chickpeas overnight or for at least 8 hours. Drain them and add them to an Instant Pot with enough water to cover the chickpeas by ½ inch. Close the lid and pressure cook on bean mode for 50 minutes to 1 hour, depending on how old the chickpeas are. Older chickpeas need to cook longer. Allow the pressure to release naturally, then drain the chickpeas for 10 minutes to remove excess moisture.
Make the crispy chickpeas.
-
Preheat the oven to 400°F (205° C) and line a baking sheet with parchment paper. In a small bowl, mix the cornstarch, baking powder, salt, and all of the spices. Set that aside.
-
Transfer the well-drained chickpeas to a large bowl, add the oil, and toss well to coat. Sprinkle the cornstarch and spice mixture over the chickpeas and toss again until evenly coated. Spread the chickpeas in a single layer on the lined baking sheet, making sure they are in a single layer and not sticking to each other.
-
Bake the chickpeas for 20 minutes, then stir them. Reduce the oven temperature to 350°F (177° C) and bake for another 10 minutes. Reduce the temperature again to 300°F (149° C), turn on convection if you have it, and continue baking for another 10 to 25 minutes, until the chickpeas are crispy and no longer feel soft when you press them. Depending on the size and brand of chickpeas, the baking time will vary.
-
Remove the chickpeas from the oven and let them cool a little bit. Drizzle a little more oil over them and add additional spices if desired, then toss well. Store in an airtight container or keep them in a bowl for snacking.
Depending on the size and brand of chickpeas, the baking time will vary.
Calories: 262kcal, Carbohydrates: 35g, Protein: 10g, Fat: 10g, Saturated Fat: 1g, Polyunsaturated Fat: 3g, Monounsaturated Fat: 5g